Remove bug splatter by soaking it with an insect remover or warm soapy water for a few minutes, then lifting it with a soft microfibre cloth. Remove tar spots with a dedicated tar and glue remover, letting it dissolve the tar before wiping, then wash the area to clear the solvent. Both jobs are about patience rather than pressure: if you rub before the product has worked, you grind the debris into the lacquer. Finish by putting back the wax or sealant the chemicals have taken off.
Why are tar and insects worth removing quickly?
They look like cosmetic dirt, but both can mark the finish if ignored. Mazda's owner care guidance explains that insects stuck to paint form corrosive compounds as they decompose. Nissan's owner's manual tells drivers to remove tar and oil spots, insects and tree sap as quickly as possible to avoid lasting damage or staining.
Summer and early autumn bring the worst insect build up, especially after motorway runs or country lanes at dusk. Tar is more of a year round problem, picked up from fresh road repairs and hot surfaces, and flung onto the sills, lower doors and behind the wheels.
How do you remove bug splatter step by step?
- Rinse the front of the car, bumper, grille, mirrors and leading edge of the bonnet, to remove loose grit.
- Spray an insect remover, or lay a microfibre cloth soaked in warm car shampoo solution over the area, to rehydrate the remains.
- Wait two to five minutes, keeping the area wet. Do not let the product dry on the paint, especially on a warm day.
- Lift the remains with a soft, damp microfibre or a dedicated bug sponge with a fine mesh face, using light pressure.
- Repeat rather than scrub on stubborn spots. A second soak nearly always works better than extra force.
- Wash the whole panel with car shampoo and rinse well.
On glass, the same method works, and a plastic razor blade is safe on the windscreen only, never on paint.
How do you get tar spots off without damage?
Tar does not dissolve in water, so shampoo alone will smear it rather than remove it. Use a solvent based tar and glue remover:
- Wash and dry the lower panels first so you can see each spot.
- Spray or dab the remover onto a cool panel, or onto a folded cloth for small areas.
- Give it the time stated on the label, usually a minute or two. You will see the tar spots begin to run and turn brown.
- Wipe gently in one direction with a clean microfibre, turning the cloth often so you are not spreading tar around.
- Wash the area again with shampoo to remove all solvent residue.
For heavy contamination that covers the sills and rear bumper, a professional decontamination wash deals with tar, iron and bonded grime in one sequence.
What should you avoid?
- Petrol, thinners, nail polish remover or WD-40 straight on paint. They are not designed for automotive lacquer and can soften trims or leave a greasy film.
- Kitchen scourers, paper towels and fingernails. All of them scratch.
- Working in hot sun. Products evaporate too fast and can leave stains.
- Leaving solvent on plastic trims, rubber seals or matt finishes without checking the label.
Treat chemicals with respect. HSE guidance notes that the product label or safety data sheet should say if skin protection is needed and which gloves to use, and that no glove protects against every substance forever. Nitrile gloves and good ventilation are sensible for tar removers.
How do you stop them sticking so badly next time?
A slick, protected surface is the best defence. Insects and tar still land, but they bond to the wax or sealant layer rather than the lacquer and come off far more easily. Before a long summer drive, a spray sealant on the front bumper, mirrors and bonnet edge makes the clean up much quicker. Our guide on protecting paint between valets covers the routine in more detail.
After removing tar, always re-protect the treated area, as solvents strip wax as well.
When should a professional take over?
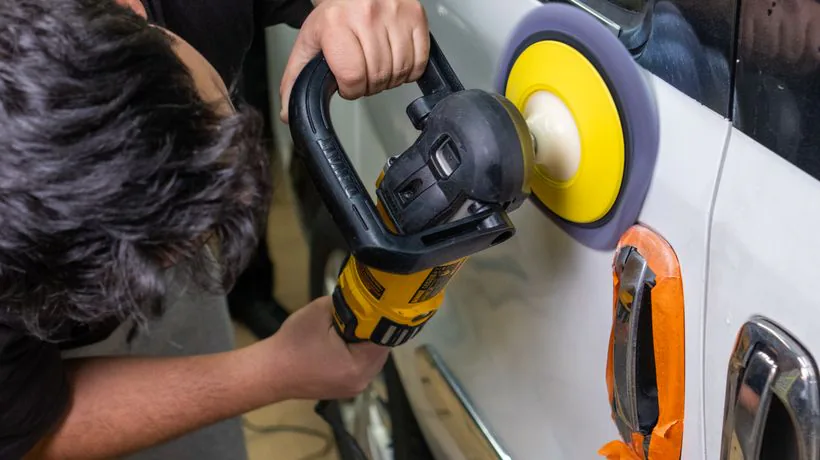
Call a valeter if spots will not move after two careful attempts, if tar covers large areas, or if the insects have left etched outlines once removed. Etching needs machine polishing rather than more chemicals. On our exterior and full valets we treat bug splatter and tar as part of the wash, and our premium detailing from £150 adds machine polishing to remove light etching before a wax or sealant finish.
Sources
- Nissan UK: Qashqai owner's manual, Removing spots
- Mazda: Owner's manual, Exterior care
- HSE: Choosing the right gloves to protect skin
Paint feeling rough or speckled?
EMobile Valeting brings professional, fully insured mobile valeting to your door across Derby, Nottingham and the East Midlands. No call-out fee.
See Car Valeting Get a Free Quote