
To valet a van interior, empty it completely, vacuum the cab from the headlining down, clean the hard surfaces and glass, deal with the seats and mats, then move to the load area and finish with the floor. The order matters more in a van than a car, because trades bring in fine dust, mud and grease that spread easily. This guide covers the cab and the back separately, with the tools that work, the shortcuts that cause damage, and when a professional clean makes more sense.
What do you need before you start on a van?
A van cab needs slightly heavier kit than a car:
- a wet and dry vacuum with a crevice tool and a soft brush head
- a stiff brush for rubber mats and load floors, and a soft detailing brush for vents and switches
- an interior cleaner diluted as the label says, plus a separate glass cleaner
- plenty of microfibre cloths, kept apart for glass, plastics and dirty jobs
- bin bags and a box for paperwork, tools and loose fixings you find
Pick a dry day if you can. Doors need to stay open for drying, and a damp cab closed up overnight starts to smell.
How do you clean a van cab step by step?
- Strip it out. Remove mats, paperwork, cups, chargers and anything in door bins and under seats. Lift out seat covers if fitted.
- Vacuum from the top. Headlining, sun visors and the top of the dashboard first, then seats, then the floor. Slide the seats forward and back to reach the runners.
- Detail the vents and switches. Brush dust out of vents, around the gear lever and tachograph or radio surrounds while the vacuum nozzle catches it.
- Wipe hard surfaces. Spray cleaner onto a cloth, not onto the dashboard, and wipe the steering wheel, door handles, grab handles and switches.
- Clean the seats. Fabric seats can be lightly shampooed and extracted; vinyl and leather need a damp cloth and a mild cleaner.
- Scrub the mats outside the van and leave them to dry before refitting.
- Finish with the glass, inside the windscreen last, using two cloths: one to clean, one to buff.
Why should you avoid blowing dust out of a work van?
Vans used on building sites collect cement, plaster, stone and wood dust in every seam. Blasting it out with an airline or sweeping it dry puts the finest particles back into the air, right where you are breathing. HSE says regularly breathing construction dust can cause lung cancer, asthma, COPD and silicosis.
Vacuum instead, and wear a dust mask if the cab is heavily coated. Wipe surfaces with a damp cloth after vacuuming to lift what is left rather than flicking it around. If you carry dusty materials daily, keep them in sealed boxes or bags in the load area so less of it reaches the cab in the first place.
How do you clean the load area of a van?
Treat the back as a separate job once the cab is done:
- Empty and sweep or vacuum loose debris, paying attention to tie-down points and the corners of the ply lining.
- Check the floor for damp by lifting a corner of the mat or lining. Water collecting at the back often comes from a rear door seal.
- Scrub rubber or ply-lined floors with a stiff brush and a diluted cleaner, then wipe dry. Do not flood a load area, because water sits under linings and rots ply.
- Degrease shelving and racking with a cloth, keeping solvents off rubber seals.
- Leave the doors open to dry before reloading tools.
Steam works well on hard, sealed surfaces and on greasy racking, because heat lifts grime with very little water. Our steam cleaning service starts from £60.
How do you deal with smells in a van?
Odours in work vans usually come from three places: food and drink spilled in the cab, damp in the load floor, and materials carried in the back such as fuel cans, fish, compost or animal feed. Air fresheners only cover them up.
Find the source first. Spilled milk or energy drink needs the seat or carpet extracting, not wiping. A damp load floor needs the leak fixing and the lining drying. Fuel smells mean checking cans and caps before cleaning anything. Once the source is gone, a thorough clean and a few days of airing usually clear what is left. Damp left in place can lead to mould, which can aggravate allergies and asthma; see a GP for symptoms.
Why does a clean van cab matter beyond appearance?
Clear glass is a legal point, not a nicety. The Highway Code says windscreens and windows must be kept clean and free from obstructions to vision, and that lights and number plates must be kept clean and clear. A dusty dashboard reflects into the windscreen in low sun, and a film on the inside of the glass makes night glare worse.
Condition matters at the end of a lease too. The BVRLA publishes a separate fair wear and tear guide for light commercial vehicles, and a cab cleaned regularly is easier to return in a fair state. Seatbelts deserve care as well; our guide to cleaning seatbelts safely explains why harsh chemicals are a bad idea.
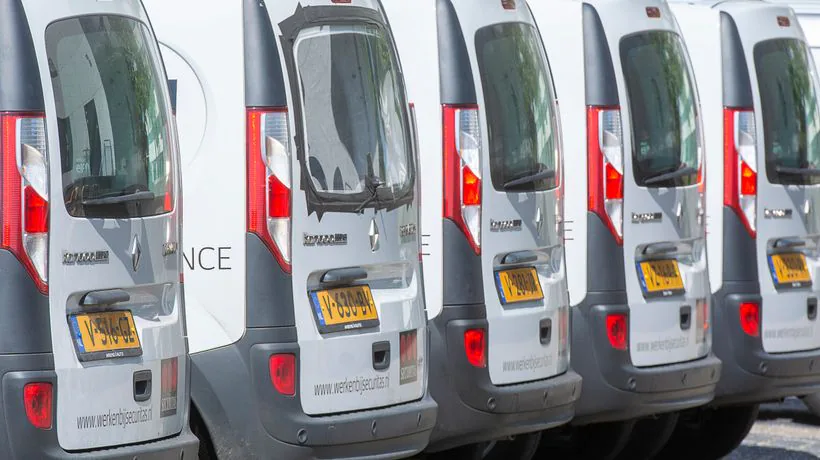
For a single van, our mobile van valeting is priced on a quote and done where the van is parked. If you run several vans, our fleet valeting service cleans them on your premises from £25 per vehicle, and our article on the benefits of a fleet valeting contract explains how a regular schedule works.
Sources
- HSE: Construction dust
- GOV.UK: The Highway Code, Annex 6. Vehicle maintenance, safety and security
- BVRLA: Fair Wear and Tear Guides for Leased Vehicles
Work van needing a reset?
EMobile Valeting brings professional, fully insured mobile valeting to your door across Derby, Nottingham and the East Midlands. No call-out fee.
See Van Valeting Get a Free Quote